Paw Cleaner for Dogs: A Surface-Aware Muddy Entryway Guide


A paw cleaner for dogs routine should begin with a quick paw inspection and the least intensive cleaning method that fits the mess. A paw cleaner for dogs routine should begin with a quick paw inspection and the least intensive cleaning method that fits the mess. When a dog trots through the door after a walk, the first thing that hits your floor is whatever the sidewalk or trail left behind.
Key takeaways
- Test any paw cleaning tool or solution on a hidden spot of your entryway floor before regular use.
- Pair a rinse step with a drying step to prevent water and dirt from pooling on hard surfaces.
- Store paw cleaning tools where they can dry fully between uses to limit odor and buildup.
- Check the floor after cleaning for any residue or moisture that could affect traction.
- Adjust your routine seasonally—mud in spring, road salt in winter, dust in summer.
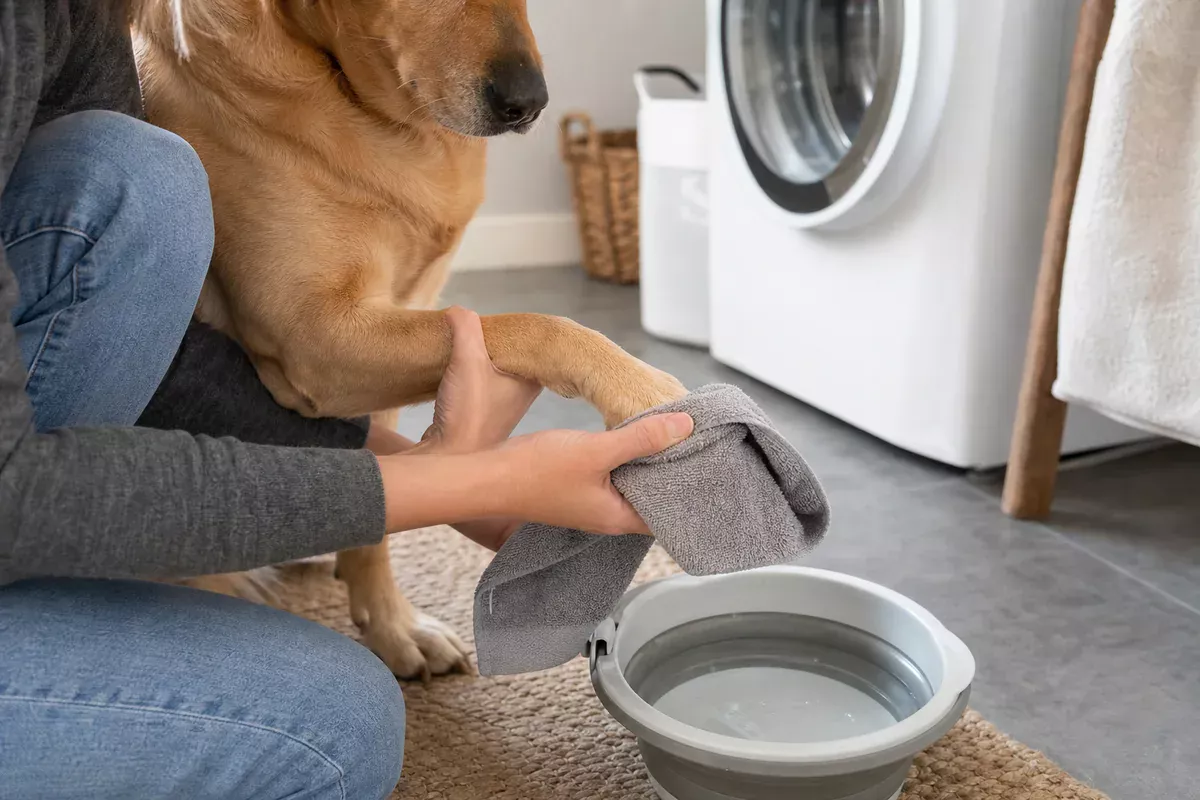
What does a surface-aware paw cleaning routine look like for a tiled entryway?
A surface-aware routine means you pay attention to how your floor reacts to water, friction, and any cleaning product you introduce. Tiles—especially glazed ceramic or porcelain—tend to handle moisture well, but grout lines can absorb dirty water and become discolored over time. Laminate flooring may swell if water sits too long. Before you commit to a daily method, do a quick check.
Testing your entryway surface
- Pick an out-of-sight corner or a spare tile if you have one left from installation.
- Apply a small amount of plain water and the paw cleaning tool you plan to use—such as a cup-style paw cleaner for dogs—to the test area.
- Wait 10–15 minutes, then wipe dry. Look for any clouding, texture change, or water marks.
- If the surface looks unchanged, proceed. If you notice any dulling or raised edges, adjust your method: use less water, switch to a microfiber towel for drying immediately, or place a dedicated absorbent mat under the cleaning station.
This step takes only a few minutes and gives you confidence that your daily habit won’t slowly damage the floor.
How do you set up a practical paw cleaning station by the door?
The goal is to contain the mess in one spot. Think of the station as a sequence: catch the dirt, clean the paws, dry the paws, and protect the floor underneath.
Step-by-step station assembly
- Place a waterproof tray or boot mat directly inside the door. Choose one with a raised lip to catch drips. A dark color hides stains between washes.
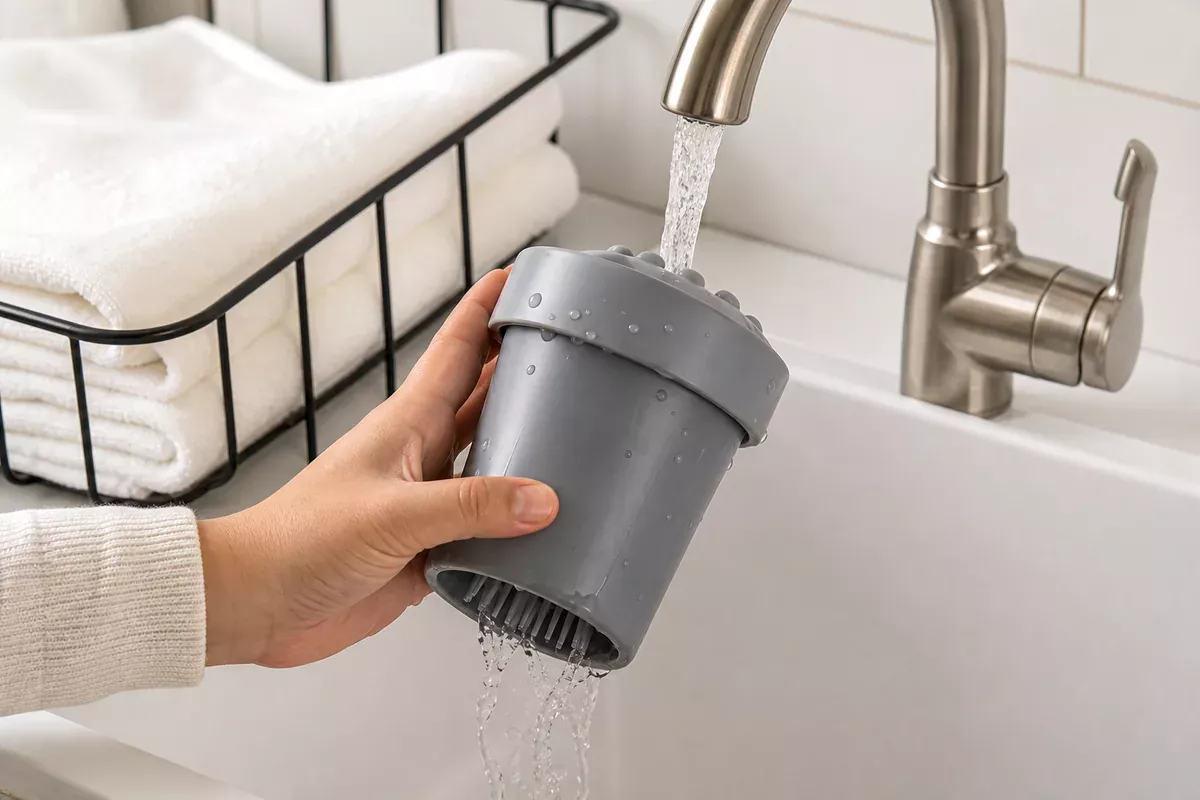
- Position a filled paw cleaner cup on the tray. A dog paw cleaner cup with internal bristles can gently loosen mud when you insert the paw and twist. Fill it with lukewarm water—just enough to cover the paw without overflowing when the paw displaces the water.
- Keep a stack of clean microfiber towels within reach. Microfiber picks up fine grit and absorbs water quickly without leaving lint.
- Add a small bowl or spray bottle of clean water for rinsing. If the paw cleaner cup water gets murky after one paw, you’ll want fresh water for the next paw. A quick rinse over the tray prevents muddy water from dripping onto the floor.
- Hang a waterproof bag or bin for used towels. This keeps wet, dirty towels off the floor and makes laundry day simpler.
For more ideas on building a permanent setup, see our guide to a DIY dog paw cleaner station.
Which paw cleaner for dogs can be useful on different types of dirt?
Not all dirt is the same. The paw cleaner for dogs that works in one season might be overkill in another. The table below compares common paw cleaning tools based on observable use cases, handling, and maintenance—without making claims about materials or performance beyond what you can see and feel. This is a review checklist, not a hands-on product test; always verify the manufacturer’s label for specifications.
| Tool type | Best for | Handling notes | Maintenance |
|---|---|---|---|
| Cup-style paw cleaner with internal bristles | Wet mud, clay, and slush | Insert paw, twist gently, remove. Water stays mostly inside the cup. | Rinse cup after each use; air dry upside down. Check the interior for trapped debris before storing the tool. |
| Microfiber towel (dry) | Light dust, dry grass, and final drying step | Wrap paw, press gently, and wipe between toes. | Follow the towel care label, then let the towel dry before storage. |
| Shallow basin with warm water | Salt, sand, and general road grime | Dip paw, swish gently, lift out. Requires a mat underneath to catch drips. | Empty and rinse basin after each session; clean it according to its care instructions when visible residue remains. |
| Damp washcloth | Quick touch-ups between full cleans | Wipe paw pads and between toes; rinse cloth frequently. | Launder after a few uses; hang to dry between sessions. |
If you’re looking for a ready-made tool, a dog paw cleaner search will show many cup-style options. The key is to match the tool to the mess you actually encounter. For muddy spring walks, a cup with bristles can reduce the number of passes needed. For dry summer dust, a simple microfiber wipe may be enough.
How do you clean and store paw cleaning tools so they stay effective?
Tools that stay damp can develop odors or a slimy film. A regular cleaning and storage routine keeps them ready for the next walk.
After-use cleaning checks
- After each use: Empty the paw cleaner cup or basin. Rinse with warm water to remove visible dirt. Shake out loose debris from towels and hang them to dry.
- For reusable towels: Follow the towel care label and dry the towel before storage. The CDC provides general laundering guidance for soft pet supplies, but the towel label remains the instruction for the item you own.
- When residue remains: Follow the cleaner’s care label, reach visible crevices without forcing removable parts, rinse only when the label permits it, and let the item dry before reassembly.
- Before use: Look for visible wear, loose parts, rough edges, trapped debris, or another change that affects normal handling. Follow the maker’s replacement guidance.
Storage tips
- Store the paw cleaner cup upside down on a drying rack or hook so water drains out.
- Keep towels in a dry, ventilated spot—not stuffed in a closed bin while damp.
- If you use a waterproof tray, wipe it dry after the last use of the day to prevent water spots or mineral buildup, especially if you have hard water.
- In cold weather, don’t leave water-filled tools in an unheated entryway where they could freeze and crack.
For more detailed guidance on post-walk routines, read our article on cleaning dog paws after a walk.
What if my dog doesn’t like having their paws handled?
Some dogs are sensitive about paw touching. A gradual approach can make the routine less stressful for both of you.
Building comfort step by step
- Start without water. Touch a paw briefly, then offer a treat. Repeat over several days until your dog stays relaxed.
- Introduce the tool empty. Let your dog sniff the dry paw cleaner cup. Touch it to a paw without inserting, then reward.
- Add a little lukewarm water. Dip just one paw for a second, then dry and treat. Keep sessions short.
- Work up to all four paws. Only move to the next paw when the previous one is accepted calmly.
If your dog continues to resist, a damp washcloth may be a simpler alternative. The goal is clean enough paws to protect your floors, not a perfect spa experience.
Common questions about using a paw cleaner for dogs at the entryway
Can I use the same paw cleaner cup for multiple dogs?
Yes, but change the water between dogs to avoid transferring dirt from one set of paws to another. If one dog has a known skin issue, consider using separate towels or rinsing the cup with soapy water between pets.
How do I prevent water from damaging my laminate entryway?
Place an absorbent mat with a waterproof backing under the cleaning station. Dry each paw immediately after rinsing so no drips reach the floor. Wipe up any splashes right away.
What temperature water should I use?
Lukewarm water is usually comfortable for dogs and effective at loosening mud. Avoid hot water, which can be startling, and very cold water in winter, which may make a dog reluctant to cooperate.
How often should I deep clean the paw cleaner cup?
There is no universal schedule for every paw cleaner. Follow its care label, clean it when visible residue remains, and let it dry before the next use.
Is it safe to use any cleaning product on my dog’s paws?
Plain water is often sufficient for mud and dirt. If you choose to add a product, read the label carefully. The EPA advises keeping pets away from treated areas as directed and storing all products out of reach (EPA). Rinse paws thoroughly and dry them before allowing your dog to walk on clean floors or lick their paws.
Next step: build a routine that fits your floor
Start with one week of using your chosen paw cleaner for dogs at the entryway. Notice where water drips, how long drying takes, and whether your floor shows any changes. Adjust your mat, towel count, or water amount based on what you observe. Once the routine feels smooth, you’ll spend less time scrubbing floors and more time enjoying the walk itself. For more cleaning guides tailored to pet households, visit our cleaning guides section.