Dog Grooming Kit for Small Dogs: A Practical Checklist

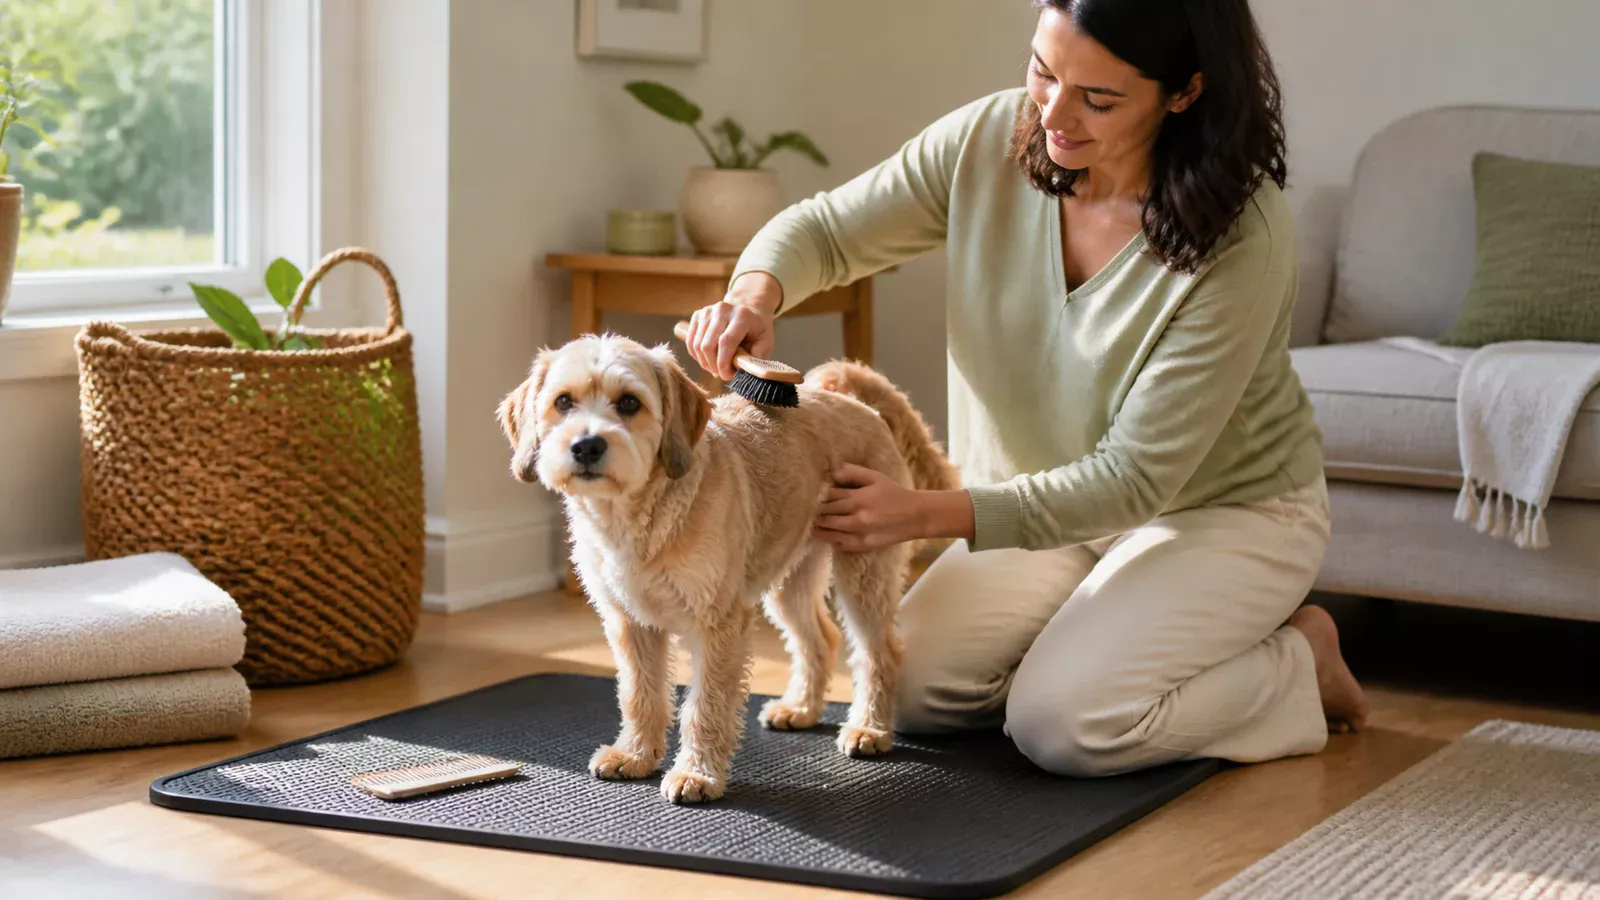
Direct answer: A practical dog grooming kit for small dogs starts with a coat-appropriate brush or comb, an absorbent towel, a nonslip work surface, and only the dog-specific products needed for the planned task. Add nail or trimming tools only when you know how to use them. Small body size does not determine coat care, so choose tools by coat type, skin condition, handling tolerance, and the manufacturer’s directions.
The best kit is not the one with the most pieces. It is the one you can prepare, use, clean, and store without rushing the dog or reaching for an unfamiliar tool halfway through the session. This checklist focuses on routine brushing, simple bath preparation, paw checks, and tool care. It does not replace veterinary care or professional grooming.
What belongs in a dog grooming kit for small dogs?
Begin with the tasks you already perform confidently. For many households, that means brushing, drying, wiping accessible paws, and inspecting the coat under good light. A basic kit can stay compact:
- One coat-appropriate brush: selected for the dog’s actual coat rather than body size alone.
- One comb: used gently to check whether a brushed section is free of obvious tangles.
- Two absorbent towels: one for the dog and one kept dry as a backup.
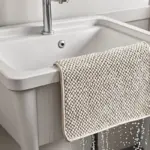
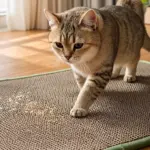
- A stable nonslip mat: placed on a dry, level surface with room for the dog to turn safely.
- Dog-formulated wash product: only when bathing is planned and the label suits the intended use.
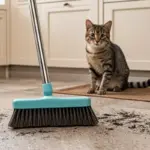
- A small cleanup brush or lint tool: reserved for hair left on the mat, clothing, or nearby surfaces.
- A ventilated storage box: large enough to keep dry tools separated and easy to inspect.
The ASPCA notes that brushing method and frequency depend largely on coat type. A smooth short coat, a dense coat, and a long silky coat do not need the same brush or schedule. If you cannot identify the coat type or a tool catches repeatedly, ask a qualified groomer or veterinarian before continuing.
How should you choose each tool?
Match the tool to one clear job. A brush should move through the coat without scraping skin or pulling hard. A comb should be used as a gentle check, not as leverage against a tight mat. Towels should be absorbent and easy to wash according to their care labels. The work mat should lie flat and should not slide when light pressure is applied.
| Kit item | What to check before use | Reason to stop |
|---|---|---|
| Brush or comb | Coat compatibility, smooth teeth or pins, secure handle, no bent parts | Skin redness, repeated snagging, discomfort, or broken components |
| Nonslip mat | Flat edges, dry underside, stable grip on the chosen floor | Curling, sliding, trapped moisture, or visible floor change |
| Towel | Clean surface, intact seams, care label, enough absorbency for the task | Loose threads, rough debris, persistent odor, or damaged fabric |
| Dog-formulated wash product | Species, purpose, directions, warnings, and expiration information | Missing label, damaged container, irritation, or unexpected reaction |
| Nail or trimming tool | Correct size, intact guard or sleeve, secure moving parts, user competence | Dog resists handling, visibility is poor, tool slips, or you are unsure where to cut |
Do not assume that a bundled tool belongs in every session. A large multipiece set may contain attachments that do not suit your dog. Keep unfamiliar sharp or powered tools stored until a professional has shown you how to use the correct type. The broader dog grooming kit for beginners guide explains how to build confidence one task at a time.
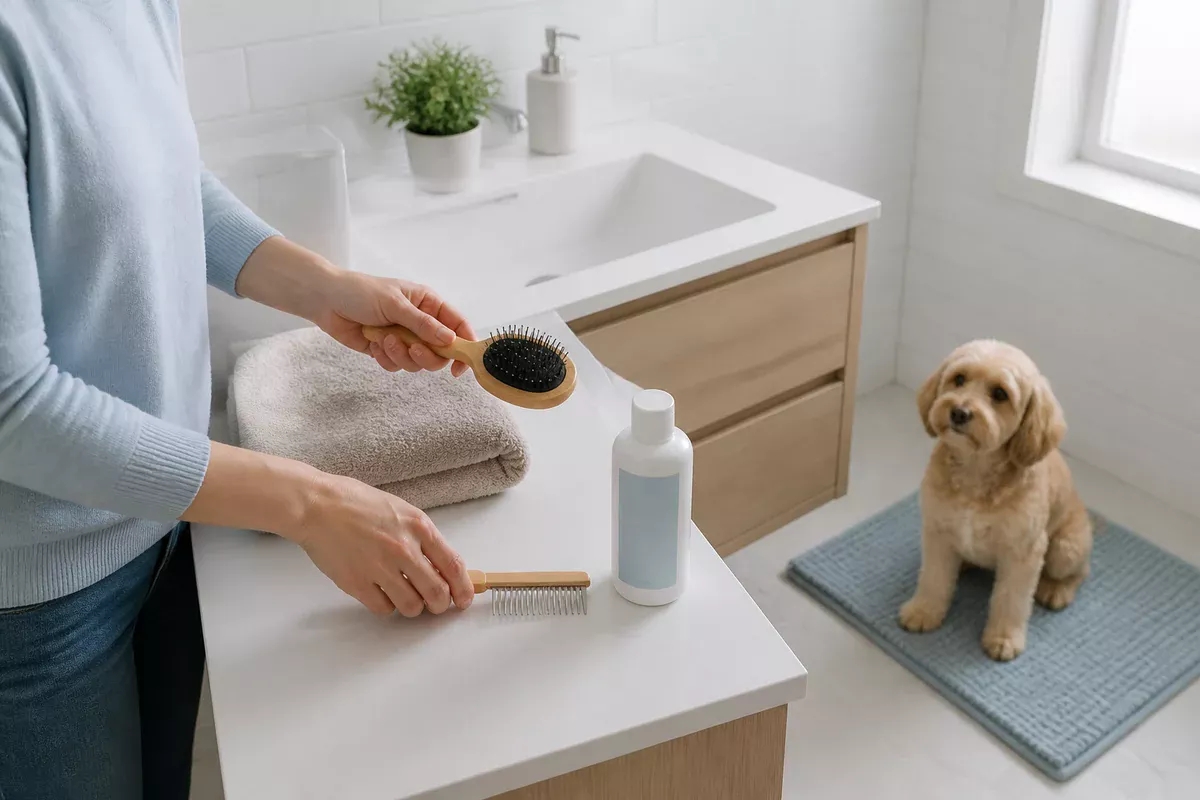
How do you set up a small-dog grooming area?
Choose a quiet place with steady footing and enough light to see the coat and skin. Close exterior doors, remove loose cords, and keep products beyond the dog’s reach. Put the towel, brush, comb, and waste bag where you can reach them without leaving the dog unattended on a raised surface.
- Decide on one task. Brushing, bath preparation, and nail care are separate jobs. Do not combine them simply because the kit is open.
- Inspect the dog first. Look for redness, sores, swelling, dense matting, or unusual sensitivity. Stop and seek appropriate advice when something appears abnormal.
- Check every tool. Remove old hair, inspect teeth and pins, and confirm that handles and guards are secure.
- Test the surface. Press the mat with your hand and foot. It should remain flat and stable.
- Arrange tools in order. Keep only the current tool within reach. Closed or sharp items stay covered.
- Keep the session short. Pause when the dog turns away repeatedly, stiffens, vocalizes, tries to escape, or shows another clear sign of distress.
- Finish with cleanup. Collect loose hair, launder used towels as directed, clean the surface, and store tools only after they are dry.
Small dogs are easier to lift, but lifting is not automatically safer. Use a floor-level setup when possible. If a raised surface is necessary, the dog needs continuous supervision and secure footing. Never leave a dog alone on a counter, table, bathtub edge, or grooming platform.
How does coat type change the kit?
Body weight does not tell you whether a dog needs a rubber brush, bristle brush, slicker brush, or comb. The ASPCA separates brushing guidance by coat type and recommends asking a veterinarian or groomer for a suitable brush or comb when uncertain. Use that same coat-first logic when assembling the kit.
Smooth or short coats
A simple brush designed for short coats may be enough for routine loose-hair removal. Use light passes in the direction of coat growth and inspect the skin as you work. Stop if the tool creates redness or seems to drag.
Dense or double coats
Dense coats can hold loose hair beneath the surface. Select a tool specifically identified for that coat and learn the correct pressure from a professional. Repeated hard strokes can irritate skin and still fail to address compacted undercoat.
Long, silky, curly, or tangle-prone coats
These coats may need more frequent attention and careful sectioning. Do not pull a comb through a tight tangle. Dense mats close to the skin can conceal irritation and make home cutting risky. A qualified groomer is the safer next step when the mat cannot be separated gently.
What should be separate from the everyday kit?
Keep nail clippers, grinders, electric clippers, and sharp trimming tools in a protected compartment. They should not be loose beside brushes and towels. The ASPCA advises asking a veterinarian or groomer which nail tool suits the dog and how to use it properly. If the dog will not tolerate foot handling or you cannot clearly identify a safe stopping point, book professional help.
Ear and eye care also require restraint. Do not insert tools or cotton swabs into the ear canal, and do not improvise around the eye. A kit can include clean gauze or a soft cloth for a veterinarian-approved routine, but it should not encourage probing or treatment. Symptoms such as discharge, odor, swelling, head shaking, persistent scratching, cloudiness, or pain need professional assessment.
Keep household cleaners and disinfectants outside the grooming box. If you clean the mat or hard tools, follow the item manufacturer’s directions and the cleaner label. The CDC distinguishes cleaning, which physically removes dirt, from disinfecting, which uses chemicals to kill germs. For many pet items, routine cleaning is sufficient; disinfect only when the situation and product directions call for it.
How do you clean and store a small-dog grooming kit?
Remove visible hair from brushes and combs after the session. Follow the tool maker’s directions for washing or wiping because materials and moving parts differ. Rinse only items identified as washable, and let them dry completely before closing the container. Damp storage can create odor and make it harder to inspect tools before the next use.
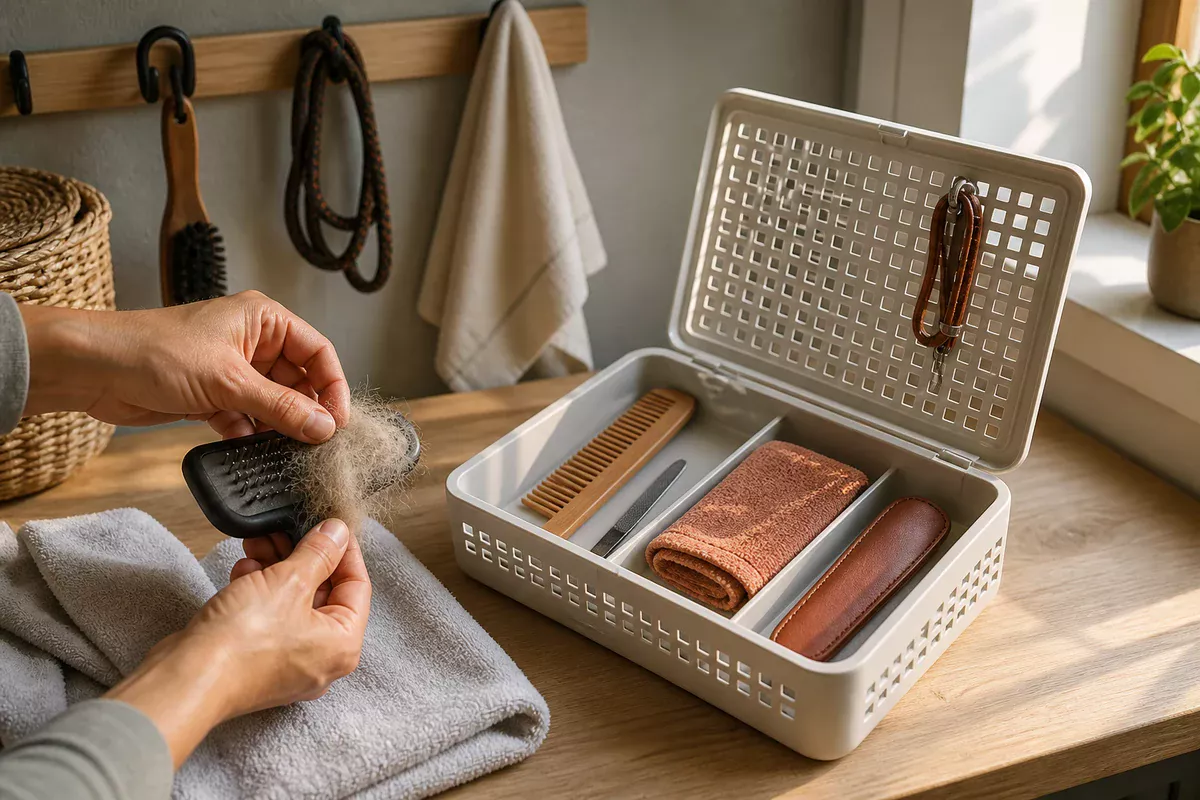
- Launder towels according to their care labels and keep used towels separate from clean ones.
- Wipe the nonslip mat as its instructions allow, then inspect both sides after drying.
- Keep guarded tools closed and separate from comb teeth and brush pins.
- Replace cracked handles, bent teeth, loose guards, or damaged electrical cords.
- Store products upright with labels readable and caps closed.
The CDC recommends following the cleaning instructions supplied with pet items and allowing treated items to dry fully before pets use them again. For maintenance and storage checks, use the PawPureHome product care checklist.
Frequently asked questions
Does every small dog need a complete grooming kit?
No. Build the kit around the dog’s coat and the routine tasks you can perform safely. A brush, comb, towel, stable mat, and basic cleanup supplies may be enough. Add specialist tools only when there is a clear need and you understand their use.
Can I use the same brush for two small dogs?
Only if the brush suits both coat types and is cleaned appropriately between uses. Separate tools may be preferable when a dog has a skin problem or when a veterinarian advises against sharing. Do not move a dirty tool from one animal to another.
Should nail clippers be included?
They can be stored in a protected compartment if you have been shown how to use the correct type. They are not mandatory for an everyday brushing kit. If visibility, handling, or technique is uncertain, use a groomer or veterinarian.
How often should I replace grooming tools?
There is no single replacement interval for every tool. Inspect before each use and follow the manufacturer’s guidance. Replace an item when it is cracked, bent, loose, difficult to clean, or no longer works as intended.
What if my dog suddenly dislikes grooming?
Stop rather than forcing the session. Check for visible irritation, tangles, damaged tools, or a slippery surface. Sudden sensitivity, pain, skin change, or persistent distress warrants advice from a veterinarian or qualified groomer.
Sources
- ASPCA, Dog Grooming Tips, accessed August 11, 2026. Guidance on coat-dependent brushing, dog-formulated grooming products, nail-tool selection, and signs that need veterinary attention.
- CDC, About Cleaning and Disinfecting Pet Supplies, updated February 18, 2026 and accessed August 11, 2026. Guidance on following item instructions, distinguishing cleaning from disinfecting, and allowing treated items to dry.
Build the kit one routine at a time
Start with the dog’s coat, one familiar task, and a stable setup. Remove any tool you cannot identify or use confidently. After the session, clean and inspect the kit so the next routine begins with dry, working equipment. You can compare a broader setup in the beginner grooming-kit guide, review the dog paw cleaning routine, or browse practical items in the PawPureHome shop.