Cat Mats For Litter: A Practical, Surface-Aware Guide


Cat mats for litter are designed to catch stray granules from your cat’s paws after they exit the box. The right mat, placed on a suitable surface, can reduce tracking and simplify daily sweeping. To get the most out of a litter mat, you need to match it to your floor type, test its grip, and maintain it regularly. This guide walks you through surface-aware selection, placement, and cleaning routines that fit real-life pet households.
Key takeaways
- Test a small area under the mat for discoloration or slipping before full-time use.
- Choose a mat texture and backing that suit your specific floor—tile, hardwood, laminate, or carpet.
- Clean the mat outdoors with a shake-out or rinse, and let it dry completely before returning it.
- Inspect the mat and floor underneath weekly for trapped moisture, debris, or wear.
- Rotate or replace mats when they show signs of curling, odor retention, or reduced grip.
How do I choose a cat litter mat for my floor type?
Start by identifying your floor surface. Hard, smooth floors like tile, vinyl, or sealed hardwood need a mat with a non-slip backing that won’t trap moisture. Look for a backing that feels tacky but not adhesive—this helps prevent sliding without leaving residue. For carpeted areas, a mat with a textured underside or small nubs can help it stay in place without crushing the carpet pile. If you have heated floors, avoid thick rubber-backed mats that might insulate heat unevenly; a thinner, heat-resistant option is more suitable.
Before committing, test the mat in an inconspicuous corner. Place it for 24–48 hours, then lift it to check for any discoloration, indentation, or moisture buildup. This is especially important on luxury vinyl plank and older hardwood, where certain backings can react with the finish. If you notice any change, try a different mat or place a thin, breathable barrier like a cotton rug pad underneath.
Where should I place a cat litter mat to reduce tracking?
Position the mat directly in front of or around the litter box exit, covering the path your cat typically takes when leaving. Observe your cat’s exit direction—some cats leap out, while others step out slowly. For jumpers, a larger mat or a runner extending further from the box can catch airborne litter. For cats that step out, a textured mat with deep grooves or a honeycomb pattern can trap particles from paws.
On hard floors, ensure the mat lies completely flat without curled edges that could trip you or your cat. If edges curl, weigh them down temporarily with a heavy object or use a mat with a reinforced border. On carpet, press the mat firmly into the pile to create a stable surface. Avoid placing the mat where it might slide under a door or in a high-traffic walkway, as this can cause bunching and reduce effectiveness.
How do I clean and maintain a cat litter mat while checking for visible fabric changes?
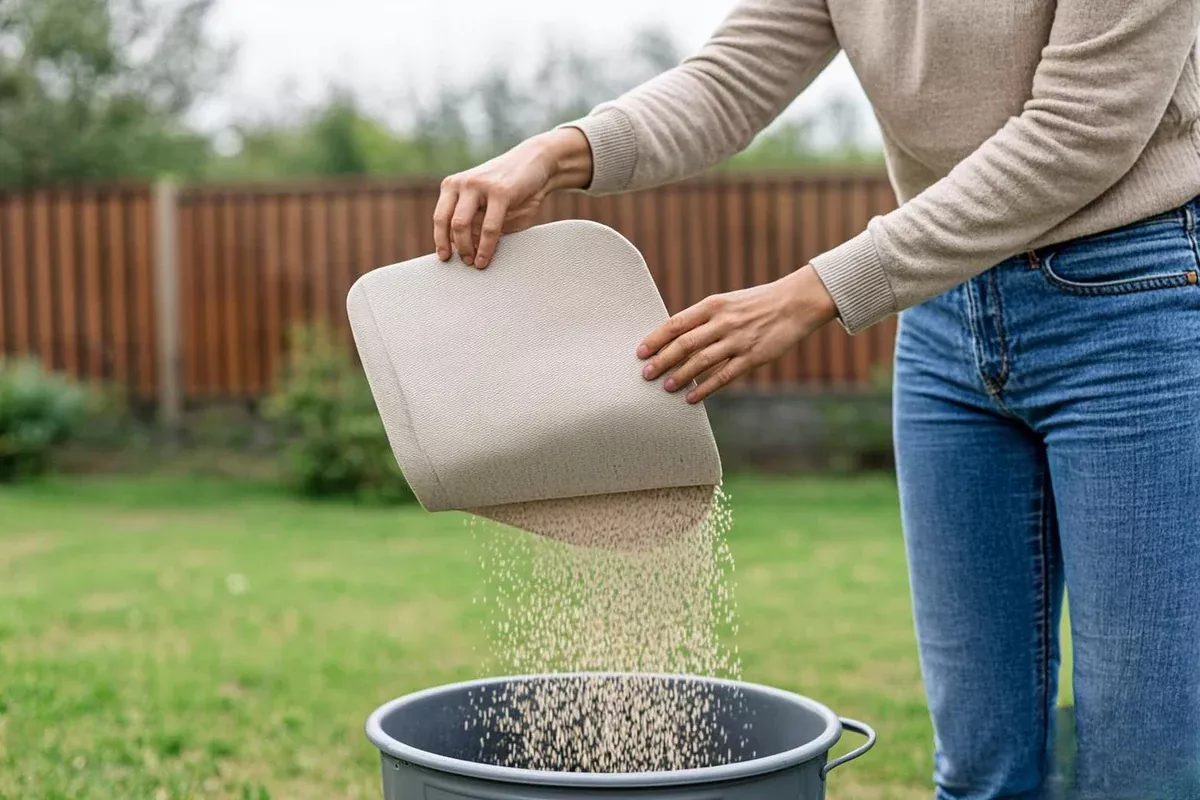
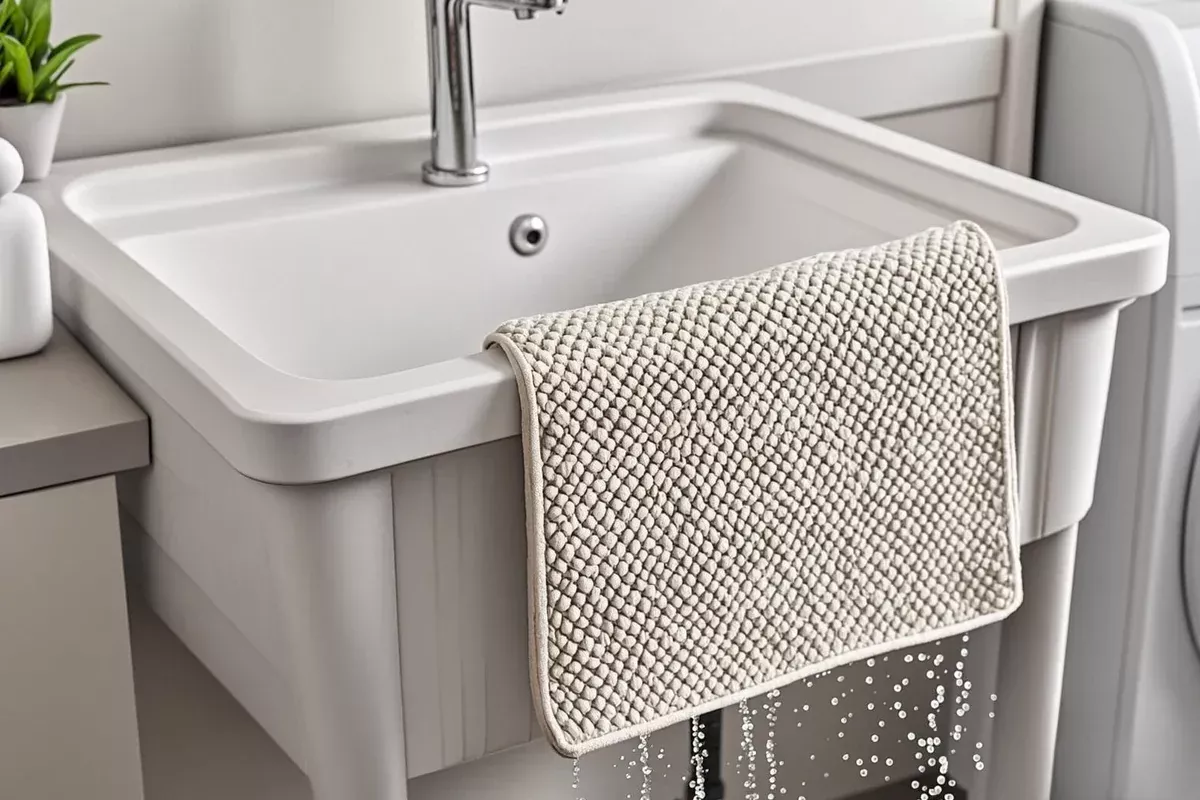
Regular cleaning keeps the mat functional and prevents odor buildup. Start with a dry method: take the mat outside and shake it vigorously to dislodge loose litter. For mats with deep grooves, a handheld brush or a rubber broom can sweep out trapped particles. If the mat is heavily soiled, rinse it with a hose or in a utility sink using cool water and a mild detergent. Avoid harsh scrubbing that could wear down the texture.
After washing, let the mat dry completely before placing it back. Hang it over a railing or lay it flat in a well-ventilated area. Moisture trapped under a mat can damage floors and encourage mold. Check the manufacturer’s tag for specific care instructions—some mats are machine washable on a gentle cycle, but always air dry to prevent backing degradation. Disinfecting is rarely necessary for daily maintenance, but if you choose to disinfect, follow the product label exactly and ensure the mat is fully dry before your cat uses it again. The CDC notes that many disinfectants are toxic when wet but are safe once dry, and pets should be kept away from treated areas until then (CDC).
What should I look for when testing a mat’s grip and surface safety?
Before using any mat long-term, perform a simple grip test. On a clean, dry section of your floor, place the mat and press down firmly. Try to slide it with your foot—if it moves easily, it may not be safe for your floor type. For hard surfaces, a mat that slides can scratch the finish over time. For carpet, a sliding mat can bunch up and become a tripping hazard.
Also check for chemical reactions. Some rubber or PVC backings can interact with floor finishes, especially on vinyl or polyurethane-coated wood. The EPA emphasizes reading product labels and keeping pets away from treated areas, but for mats, the concern is more about long-term contact (EPA). If you notice a sticky residue or a change in floor sheen after the test period, discontinue use. A simple barrier like a felt pad can sometimes mitigate this, but it’s safer to choose a mat specifically labeled for your flooring type.
Can I use a cat litter mat on multiple surfaces over time?
Yes, but you’ll need to re-evaluate each time you move it. A mat that works well on tile might be too slippery on laminate or too stiff on carpet. If you relocate the litter box, repeat the 24–48 hour test in the new spot. Pay attention to changes in humidity or temperature, which can affect how the mat behaves—for example, a rubber backing may become more pliable in warm weather, potentially leaving marks on vinyl.
When storing a mat, clean it thoroughly, dry it, and roll it rather than folding to prevent permanent creases. Store it in a cool, dry place away from direct sunlight, which can degrade some materials over time. Before reusing, inspect it for brittleness or odor, and test its grip again on the intended surface.
Comparing cat litter mat types by use case
| Mat Type | Best For | Handling & Maintenance |
|---|---|---|
| Honeycomb/dual-layer | Hard floors, heavy trackers | Separate layers to empty trapped litter; rinse and air dry |
| Textured foam or rubber | Carpet, low-pile rugs | Shake out or vacuum; spot clean with damp cloth |
| Woven or fabric | Low-traffic areas, decorative | Machine wash gentle, air dry; may require frequent shaking |
| Smooth PVC with raised edges | Tile, vinyl, easy-sweep zones | Wipe with mild cleaner; avoid abrasive scrubbers |
Step-by-step: introducing a new litter mat to your home
- Unpack the mat and let it lie flat for 24 hours to remove creases.
- Clean the floor area thoroughly and let it dry.
- Place the mat in the intended spot and perform the grip test.
- Observe your cat’s reaction—some cats may avoid a new texture. If needed, place a familiar towel over the mat temporarily and gradually remove it.
- After 48 hours, lift the mat and inspect the floor for any changes.
- Begin regular cleaning: shake out daily, deep clean weekly or as needed.
Common questions about cat mats for litter
How often should I clean the mat?
Shake out loose litter daily. A deeper clean with water and mild detergent can be done weekly or whenever you notice odor or visible buildup.
My cat avoids stepping on the mat. What can I do?
Try placing a familiar blanket or towel over the mat for a few days, then gradually remove it. You can also place treats on the mat to encourage exploration. If avoidance continues, the texture may be uncomfortable; consider a softer mat.
Can I use a disinfectant on the mat?
If you choose to disinfect, use a product according to its label instructions. Ensure the mat is rinsed thoroughly and completely dry before your cat uses it again. The CDC notes that many disinfectants are toxic when wet but are safe once dry, and pets should be kept away from treated areas until then (CDC).
What if the mat leaves marks on my floor?
Discontinue use immediately. Test a small area with a different mat or use a protective layer like a thin, breathable rug pad. Some floor finishes are more sensitive to rubber or PVC; check with your flooring manufacturer if unsure.
How do I know when to replace the mat?
Replace when the mat no longer lies flat, develops persistent odors, or loses its texture and grip. Regular inspection will help you catch wear early.
Sources
- CDC: Cleaning and Disinfecting Pet Supplies – Guidance on cleaning frequency and safe disinfectant use around pets.
- EPA: Read the Label First: Protect Your Pets – Tips on using household products safely around pets.
Next steps for a tidier litter area
Start by testing your current mat on your floor type, or choose a new one using the surface-aware tips above. Pair the mat with a consistent scooping routine and a small handheld vacuum or broom nearby for quick cleanups. For more ideas, explore our DIY cat litter mat guide or browse cleaning guides for pet households. If you’re upgrading your whole setup, check our litter box filter replacement guide and visit the shop for compatible accessories.