DIY Cat Litter Mat: A Practical Setup for Tracked Litter

LITTER AREA CARE
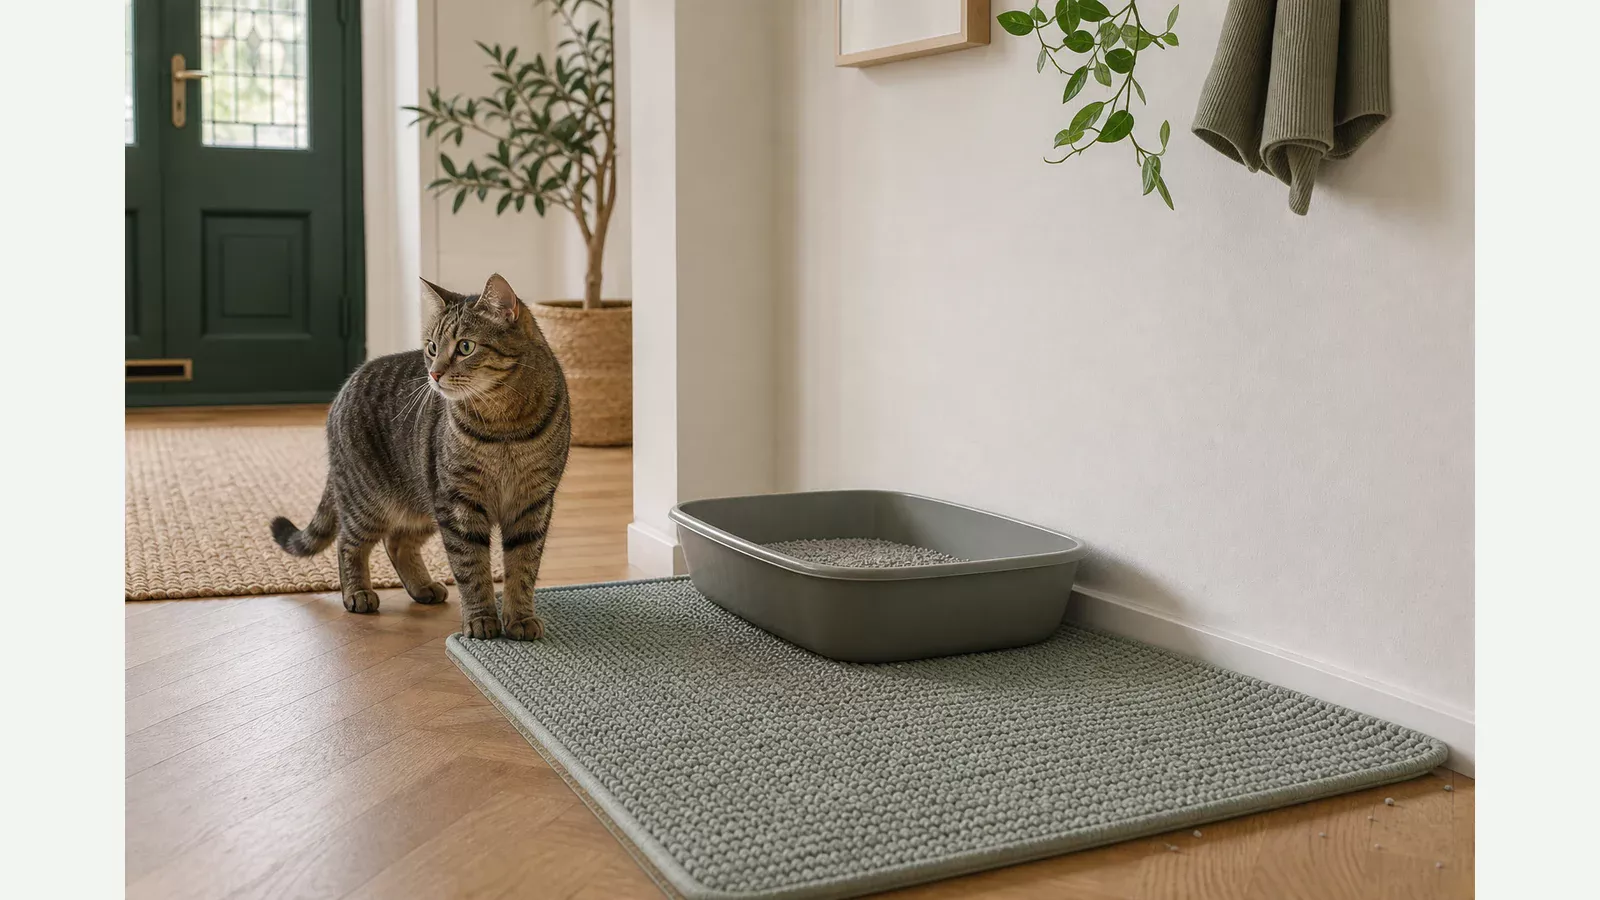
A DIY cat litter mat works best as a removable cleanup surface, not as a promise to catch every grain. Choose a mat that lies flat, gives the cat a clear exit, fits the available floor, and can be cleaned according to its own care instructions. Place it where the cat naturally steps after leaving the tray, then adjust the layout after observing the actual path.
What can a DIY cat litter mat realistically do?
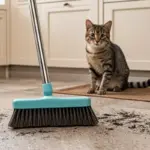
A litter mat gives scattered litter a defined landing area that is easier to lift, empty, vacuum, or wash than the surrounding floor. It cannot control every particle because cats leave a tray in different directions, dig with different force, and carry litter on paws or fur. The useful goal is simpler: shorten the cleanup route and make loose litter easier to see.
Cats Protection recommends placing a litter tray on hard flooring that is easy to sweep or on a protective mat that can be wiped clean. That advice supports a removable, observable setup rather than a complicated permanent installation. Cornell University also notes that the box location must remain quiet and accessible. A mat should support that arrangement without narrowing the entrance or changing the cat’s footing abruptly.
How should you choose the mat location and size?
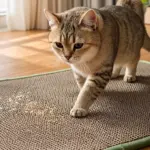
Start with the route the cat already uses. Watch several ordinary exits without moving the tray. Note whether the cat steps forward, jumps sideways, or circles around the box. Measure that landing zone, the tray footprint, nearby doors, and the space needed to scoop or lift the box. A mat that covers the wrong side only adds another object to clean.
| Observation | Layout response | Reason to revise |
|---|---|---|
| The cat exits from one open side | Extend the mat farther on that side | Litter continues beyond the mat |
| The cat jumps over the front edge | Use a longer landing area without blocking the jump | The cat lands beside it |
| The box sits near a door | Keep the door swing and walking path clear | The mat catches under the door |
| The cat has limited mobility | Keep the surface low, flat, and easy to cross | The cat hesitates or avoids the tray |
Leave food, water, and sleeping areas separate from the litter area. Do not force a large mat into a narrow space if it makes the box harder to reach. If the floor is uneven, the mat curls, or the backing slides, choose another format instead of adding improvised fasteners that may create raised edges.
How do you make a simple DIY cat litter mat?
Use a plain, cleanable mat with intact edges and a care label you understand. A finished utility mat may need no alteration. If resizing is permitted, measure twice and make the cut on a stable workbench away from the cat. Finish the edge using the method specified for that material. Do not leave foam, loops, adhesive, or sharp backing exposed.
- Observe the cat’s exit route and measure the available floor.
- Select a low, stable mat that can be cleaned as directed.
- Mark the required dimensions on a separate work surface.
- Resize only when the material and edge construction allow it.
- Place the mat flat, then return the tray to its usual position.
- Watch normal use and revise the layout if the cat hesitates.
1. Inspect the candidate mat
Check both sides for loose fibers, cracked backing, strong residual odor, damaged edges, or a surface that traps claws. Flex each corner. If it will not lie flat, do not place the tray on top in the hope that weight will solve the problem. The edge outside the tray could still lift.
2. Measure the working area
Record the tray width and depth, but also measure the cat’s landing route. Keep clearance around doors, cupboards, baseboard heaters, and ventilation openings. A rectangular mat is often easier to clean and reposition than a shape cut closely around furniture.
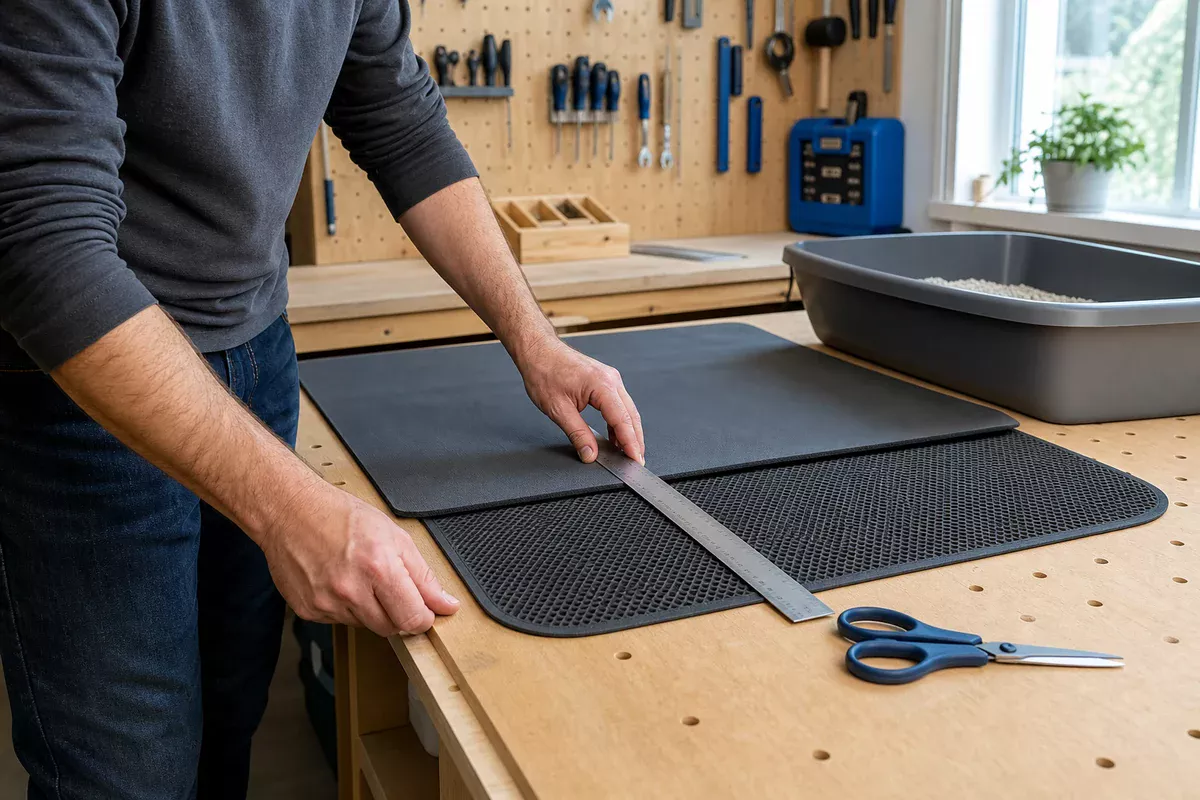
3. Prepare the mat away from the litter area
Move the material to a stable table or workbench. Use the correct tool for the material and keep hands outside the cutting line. If the mat cannot be cut cleanly or requires heat, solvents, or unfamiliar adhesives, use it at its original size or buy a finished alternative.
4. Test the finished setup
Return the box without changing its litter at the same time. One change is easier to evaluate than several. Make sure the tray does not rock and the mat does not fold under it. Observe whether the cat walks normally across the surface. Remove the mat if the cat avoids the box or repeatedly tests the edge.
How should a litter mat be cleaned and dried?
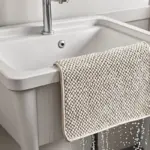
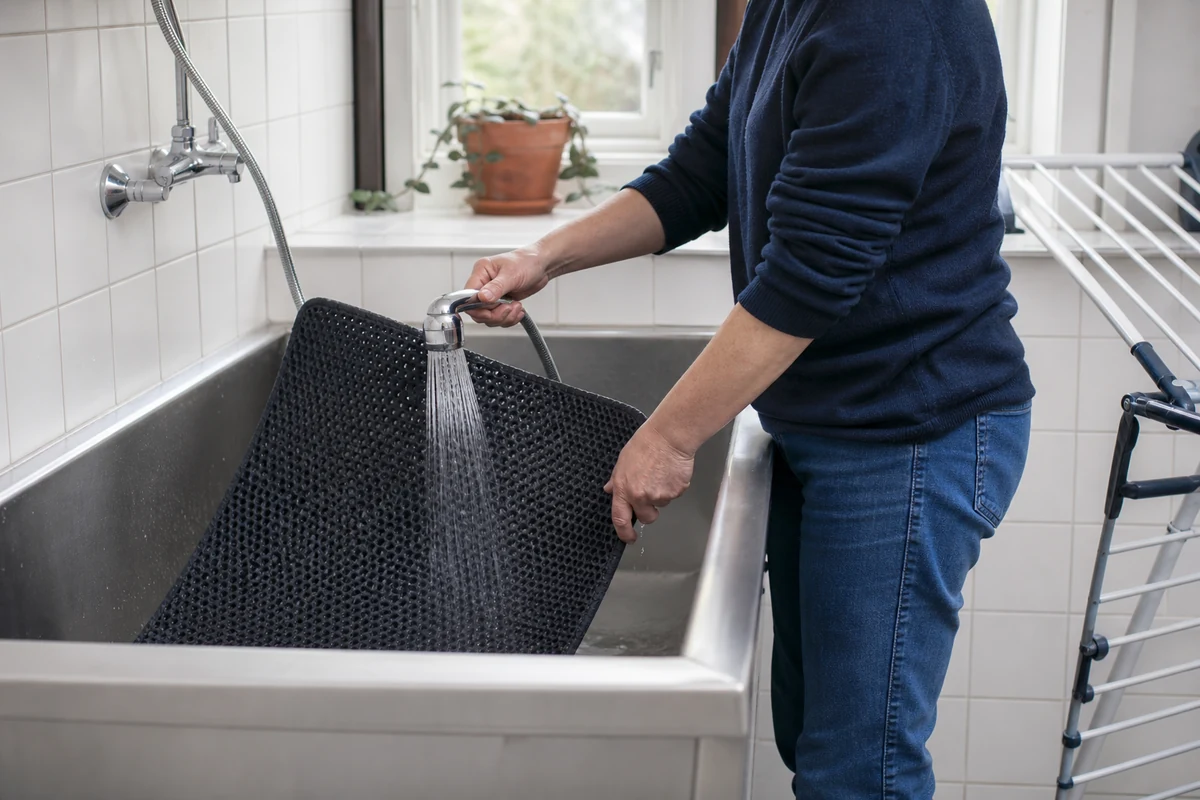
Remove dry litter first so it does not spread through a sink or washing machine. Fold or lift the mat slowly and empty loose material into the appropriate waste container. Vacuum only if the mat and vacuum instructions permit it. Wash the mat by the method on its label, rinse when required, and let every layer dry before returning it beneath the tray.
The CDC distinguishes routine cleaning from disinfection and advises following the item’s instructions. It also recommends cleaning pet items in a dedicated wash tub, laundry sink, or bathtub when appropriate, followed by cleaning the wash area. That means a mat should not automatically go into a kitchen sink or ordinary laundry load simply because it fits.
What problems mean the DIY setup needs to change?
Revise the mat when it shifts, curls, stays damp, develops damaged edges, or makes the cat alter its approach. More surface texture is not automatically better. Deep channels may hold litter but can also be harder to empty. A soft textile may feel familiar but may retain debris. The practical choice is the one that stays flat and can be maintained consistently.
| Problem | Likely cause | Practical response |
|---|---|---|
| Litter lands beyond the edge | The mat does not follow the exit route | Rotate it or extend coverage in that direction |
| The cat jumps over the mat | Texture, position, or novelty may be unwelcome | Remove it and try a flatter, less intrusive option |
| The mat slides | Backing and floor are incompatible | Choose a stable finished mat suited to the floor |
| Odor remains after cleaning | Debris or moisture may remain in layers | Reclean as directed, dry fully, or replace the mat |
For persistent room odor, treat the source separately rather than adding fragrance to the mat. The guide to removing pet odor from the home explains how to inspect textiles, nearby floors, ventilation, and the litter area. If the tray uses a replaceable filter, follow the separate litter-box filter replacement guide.
For a wider housekeeping plan beyond the litter corner, the PawPureHome cleaning guides organize routines by surface and source. Keep the mat routine separate from carpet, upholstery, and hard-floor care so one method is not applied everywhere.
Frequently asked questions
Can I use any doormat as a cat litter mat?
No. Check whether it lies flat, has intact edges, suits the floor, can be cleaned, and does not catch claws. A coarse entrance mat may be awkward in a litter area even if it works well by an exterior door.
Should the litter box sit on top of the mat?
It can, provided the tray remains level and stable. Another option is to place most of the mat in front of the exit. Choose the arrangement that matches the cat’s path and keeps the box easy to scoop and lift.
How often should I empty the mat?
Use visible tracked litter and the mat’s condition as the trigger. Empty it before debris builds up enough to spread back onto paws or surrounding floors. There is no single schedule that fits every litter type, cat, or household.
Can I wash the mat in a washing machine?
Only if its care instructions allow machine washing. Remove loose litter first, check whether it can share a load, use the specified cycle, and dry it completely. A layered or rubber-backed mat may require a different method.
What if my cat stops using the box after I add the mat?
Remove the new mat and restore the previous layout. Cornell advises investigating litter-box avoidance promptly because location, box condition, litter preference, stress, or a medical issue can contribute. Contact a veterinarian when elimination behavior changes unexpectedly.
Sources and further reading
- CDC: About Cleaning and Disinfecting Pet Supplies, updated February 18, 2026, retrieved July 27, 2026.
- Cornell Feline Health Center: Feline Behavior Problems, House Soiling, retrieved July 27, 2026.
- Cats Protection: Cat owner’s guide to keeping a clean home, retrieved July 27, 2026.